All About A/E Staff
Quick Revit Remote Access: Set Up VPN and Cloud Folders Within an Hour
-
Sreela Biswas
- November 26, 2025
- 12:00 pm
Complete Architectural Construction Document Production In Your Company Standards
Our degreed and trained architectural designers in India work as an extension of your staff on a monthly and hourly subscriptions.
Uppteam’s licensed expert MEP designers, operating remotely, collaborate with US AEC firms to deliver code-aligned MEP design solutions.
Offshore structural design experts deliver top-quality, code-compliant designs and documentation for US projects.
Seasoned civil designers remotely provide unmatched support for advancing site development, grading, and utility plans with sheer accuracy.
Cutting-edge 3D modeling and clash-coordinated documentation empower construction-ready
project delivery.
Dedicated offshore admin teams streamline architect, contractor, and engineering workflows.
Independent and guaranteed error-free model audits, clash detection, and construction
document verification by a specialized team.
U.S.-based local architectural representation, ensuring communication, accountability, and delivery expectations, managed close to the client.
Explore more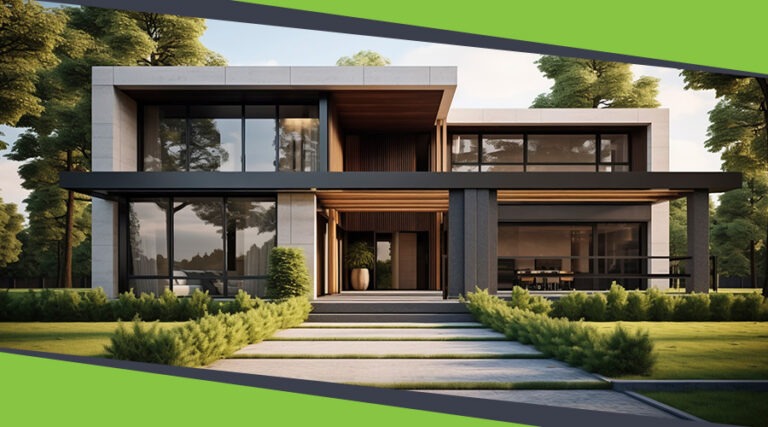
Discover our architectural design excellence through a curated selection of projects.
Explore more
Take a look at how Uppteam can elevate your projects with expert engineering solutions.
Explore more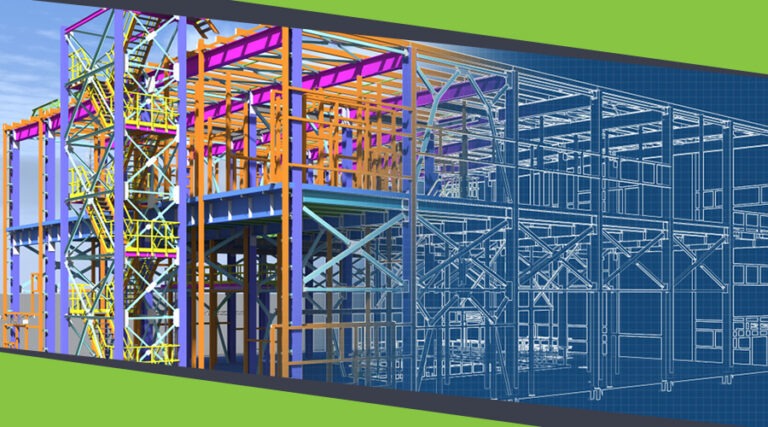
Our Structural Support Services can enhance your structural engineering projects with expert support.
Explore more
Uppteam delivers precise and reliable surveying and mapping solutions to help you make informed decisions.
Explore more
Whether you're working on residential, commercial, or industrial buildings..
Explore more
Uppteam’s Virtual Admin Support can help you with all your administrative tasks..
Explore more
Our experts work as your 3rd party quality control support partner.
Explore more
Simply put, Revit remote work is the method to use Autodesk’s Revit application to design and model structural, architectural, or MEP projects from a remote location. Yet, we often see Revit remote work failing. Why does this happen? Well, most commonly, there are three primary reasons. It could be due to sluggish network performance, model corruption at the time of using unsupported file-sharing approaches, or issues with version control among team members.
However, to stop Revit remote work from failing, one can implement a pairing at the very beginning. All you have to do is pair a client VPN with a governed cloud folder. The former provides secure tunnel access, while the latter offers clean handoffs.
According to Autodesk, construction teams lose an average of 35% of their time each week to non-optimal activities. The activities include searching and even reworking. Thus, simplifying the Revit remote work setup can be highly beneficial for teams.
In many instances, firms that rely on ad hoc solutions are exposed to compliance violations and data corruption.
The primary focus of this comprehensive blog is to show you how to quickly set up Revit for remote work in just an hour using a VPN cloud folder setup. If executed properly, AEC professionals can ensure their projects move safely and seamlessly across time zones.
Using Revit remotely may seem very simple, but it actually isn’t. Often, remote Revit work fails, and the reasons vary.
The first key challenge concerns file size. A Revit central model can be hundreds of megabytes in size. Sometimes it even reaches gigabytes in large, complex projects. In such cases, inappropriate sync tools and sluggish connections can easily corrupt the entire model.
The next main challenge is lagging operations. In the absence of an ideal Revit VPN setup, users are prone to experiencing elevated latency and reduced bandwidth. This makes saving the work done in the model atrociously slow.
Data risks are also a pain point. Traditional users send models over email or sync them through cloud file storage tools. As a result, teams experience a breakdown of worksharing, and sensitive client information gets exposed.
Apart from these challenges, there are also common bottlenecks. Conflicts among versions, misaligned folders, and out-of-date linked files can severely disrupt worksets. These impediments also negatively impact collaboration among MEP, architectural, and structural teams.
That is precisely when contemporary AEC projects require an organized setup mechanism. Anything short of it results in unwanted rework, delays, and unsatisfied clients.
Now it all comes down to understanding the critical role of a VPN in setting up remote Revit work. So, what exactly does a Virtual Private Network do? It establishes a secure tunnel between office resources and remote workers. You would be making a mistake if you think of a VPN just as IT jargon for AEC businesses.
Essentially, a VPN delivers numerous benefits. First of all, it safeguards Revit files under client agreements or non-disclosure agreements. It also allows users to connect to the central models easily, ensuring that local models are synchronized. Moreover, a VPN eliminates unsanctioned file sharing, making sure that no files get leaked outside the team. A VPN enhances privacy by preventing data from being shared over unsecured public networks.
One important point to note is that VPNs improve security but not performance. So, it wouldn’t fix any speed issues. If teams need effective multi-user collaboration, Autodesk recommends using Revit Cloud Worksharing rather than a VPN setup.
To understand the core purpose of this collaboration, one must first comprehend why only a VPN is insufficient. What a VPN does is secure traffic while leaving the user with file-based worksharing over a WAN. Autodesk warns about this being fragile for central models.
On the other hand, just using a cloud folder doesn’t provide enough protection. Generic synchronization tools simplify sharing, but consumer sync or desktop connectors don’t support Revit models. As a matter of fact, Autodesk has documented this clearly to avoid corruption and version conflicts.
When these two elements are combined, the result is an ideal remote Revit work solution. On one hand, while the VPN ensures a secure tunnel, cloud folders deliver hassle-free sync. Besides, teams can operate on central models from any location with appropriate workset allocation. Finally, permissions and synchronization norms ensure models stay current without compromising client data protection.
Remember that this equilibrium is essential for AEC projects because architectural, MEP, and structural models need to interact constantly.
Follow this guide below to complete your Revit + cloud folder setup smoothly:
Every VPN comes with varying features. However, selecting the best one is dependent on the IT maturity of the AEC firm and the size of the project at hand.
The most suitable VPN option for SMEs to smoothly access Revit Central Models is WireGuard. This VPN doesn’t require much space, is extremely fast, and is relatively easy to configure. Additionally, WireGuard has lower latency compared to conventional VPNs.
The next option is Azure Point-to-Site. This VPN is perfect for businesses already using the Microsoft ecosystem. It also delivers centralized identity management.
Another option in this list is AWS Client VPN. It is a controlled, OpenVPN-based solution. This VPN is capable of scaling for businesses already in AWS. Two other key benefits involve smooth integration with cloud infrastructure and providing robust security policies.
However, it is even more critical to ensure that, regardless of the chosen VPN style, multi-factor authentication is enabled for the VPN account. This is mandatory to adhere to ISO 19650 data security guidelines.
After choosing the most suitable VPN, follow these three steps to install and configure it successfully. The first step is to install the client application on each user’s machine. Next, secure credentials should be generated, followed by the enforcement of role-based access control. The final step is to run a test connection by utilizing a small Revit file.
Keep in mind that file synchronization is as essential as installing the VPN. However, you need to make sure you opt for the right cloud solution. There are several options, but three solutions are the most common.
If your firm has a large team, then the best choice is Autodesk Construction Cloud with BIM Collaborate Pro. It is fully compatible with Revit Cloud Worksharing.
One can also choose Dropbox Business. This cloud solution is popular for its stability and simplicity. If your team works with distributed consultants who do not require Autodesk Docs, Dropbox is a solid option.
Another route is to choose OneDrive/SharePoint. If your firm uses Microsoft 365, it’s the best cloud solution. It works more efficiently when coupled with UNC paths and appropriate synchronization policies.
Nevertheless, always avoid personal Google Drive or Dropbox accounts. This is simply because they do not have the enterprise-level versioning audit trails necessary for AEC compliance.
Following the selection of the perfect cloud folder solution, it is essential to establish a clear folder hierarchy. It helps forestall future issues.
Organize the project with a clean folder structure: a root folder named with the project title and code, and subfolders for models, sheets, connected files, and families. Finally, you should set permission templates so that every team can access only the required files.
Now, it’s time to connect Revit with the cloud folder. Here, first you need to save the central model directly into the synchronized folder. Every user needs to create a local model saved on the machine. Next, it is necessary to examine Revit Worksharing by testing and syncing worksets.
In this context, it is essential to always confirm whether the lock files have been appropriately synced or not. Remember that broken locks can trigger overwriting problems in a shared model.
In this step, one must check the performance ahead of the final rollout. Latency should be kept under 150 ms for steady worksharing. When it comes to bandwidth, the recommendation is a minimum.
20 to 50 Mbps per user. Concerning save timings, one should test save/open operations on the central model. Lastly, it is compulsory to validate whether Revit can correctly identify model ownership among users.
There are cases where even the best cloud setups have failed. To ensure such a thing does not happen, always enable automatic versioning in the selected platform (like Dropbox, OneDrive, or ACC). Then, make sure offline backups are ideally configured, followed by documenting a rollback plan if there is a synchronization error or the central model is corrupted.
Uppteam specializes in delivering remote AEC expertise. Our team includes BIM specialists who know every intrinsic detail of Autodesk Revit, Autodesk Construction Cloud, and Revit Worksharing. These experts ensure customized setups by optimally configuring the VPN + cloud folder to your requirements.
Throughout your journey as our partner, we provide 24/7 support, covering remote monitoring, troubleshooting, and adaptability as per the project’s scale. By collaborating with Uppteam, you can gain access to seasoned BIM IT experts without the concern of hiring full-time workers.
Your One-Stop MEP Design Support Solution is Here
Hire Remote Team at an Affordable Price!