Architectural Services
How the Building Construction Process Works – Step by Step Guide
-
 Soumen
 - June 11, 2025
- 6:38 am
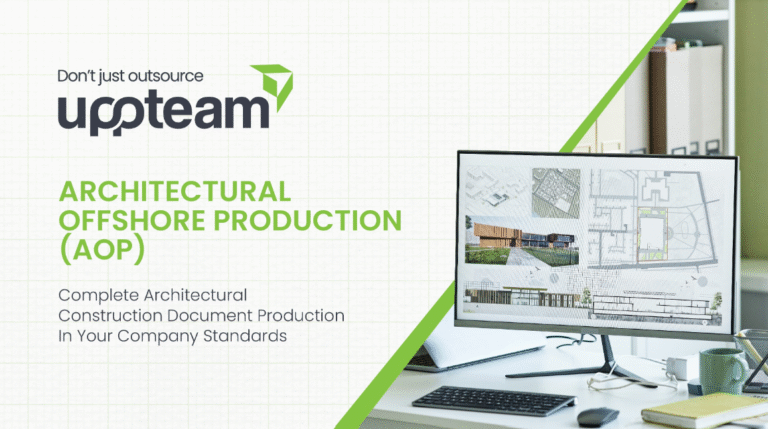
Complete Architectural Construction Document Production In Your Company Standards
Our degreed and trained architectural designers in India work as an extension of your staff on a monthly and hourly subscription.
Uppteam’s licensed expert MEP designers, operating remotely, collaborate with US AEC firms to deliver code-aligned MEP design solutions.
Offshore structural design experts deliver top-quality, code-compliant designs and documentation for US projects.
Seasoned civil designers remotely provide unmatched support for advancing site development, grading, and utility plans with sheer accuracy.
Cutting-edge 3D modeling and clash-coordinated documentation empower construction-ready
project delivery.
Dedicated offshore admin teams streamline architect, contractor, and engineering workflows.
Independent and guaranteed error-free model audits, clash detection, and construction
document verification by a specialized team.
U.S.-based local architectural representation, ensuring communication, accountability, and delivery expectations, managed close to the client.
Explore more
Discover our architectural design excellence through a curated selection of projects.
Explore more
Take a look at how Uppteam can elevate your projects with expert engineering solutions.
Explore more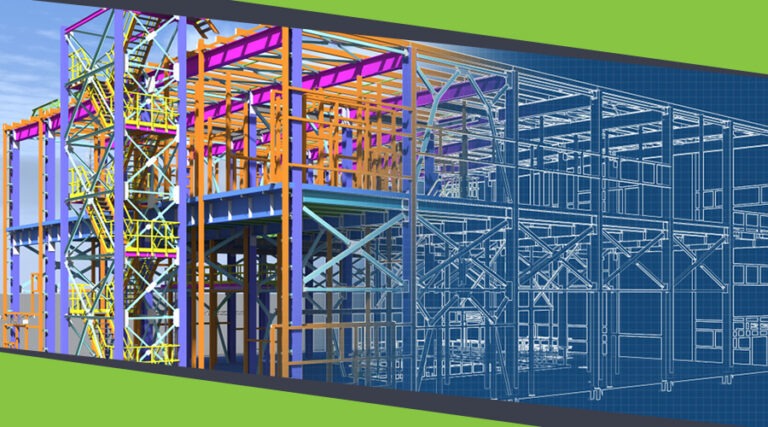
Our Structural Support Services can enhance your structural engineering projects with expert support.
Explore more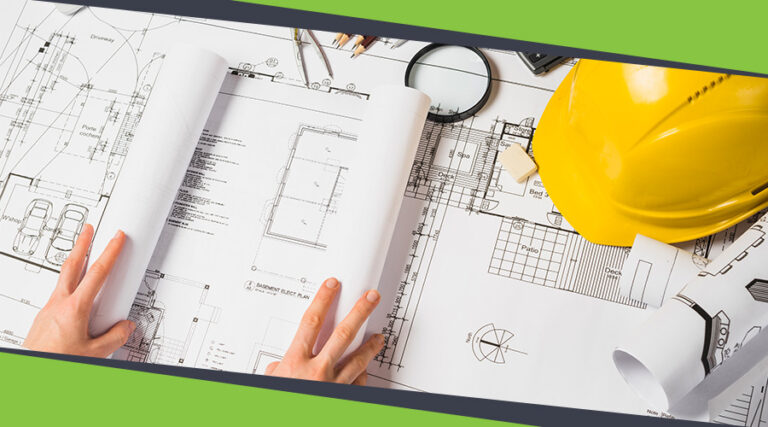
Uppteam delivers precise and reliable surveying and mapping solutions to help you make informed decisions.
Explore more
Whether you're working on residential, commercial, or industrial buildings..
Explore more
Uppteam’s Virtual Admin Support can help you with all your administrative tasks..
Explore more
Our experts work as your Second Eye Services expert.
Explore more
Ever wondered what really happens between the first spark of an idea and the moment a completed building welcomes its first occupant? Whether you’re a future homeowner visualizing your dream space, a developer coordinating across consultants, or a curious professional in the AEC ecosystem, the building construction process can seem daunting. There are permits to file, teams to assemble, drawings to decipher, and milestones to hit. But behind the cranes and concrete is a surprisingly structured journey.
Let’s walk through the building construction process—step by step—so you know what happens, when, and why. When you understand the road ahead, you can make more informed decisions, collaborate more effectively, and manage timelines and budgets more efficiently.
Before anything gets built, a lot of invisible groundwork is laid. This stage is all about turning a vision into a viable plan.
It begins with conceptualization and goal setting. What’s the end goal? A single-family home? A healthcare clinic? A school, maybe? Each project has unique needs, and clarifying them early informs the design, materials, and even the construction methodology.
Feasibility studies follow soon after. These assess whether the proposed structure is realistic from technical, legal, and financial perspectives. Soil tests, utility access, and regulatory constraints all play a part. It’s not uncommon to see beautiful concepts shelved because the plot couldn’t support the foundation or didn’t meet zoning requirements.
Site selection is another make-or-break factor. A sloped plot might require costly retaining walls, while a flood-prone area could introduce unexpected design challenges. That’s why topographic surveys and land assessments are crucial here.
Once the groundwork is verified, the project team is assembled. This includes architects, engineers (civil, structural, and MEP), contractors, quantity surveyors, and potentially BIM consultants, such as us at uppteam. The earlier these stakeholders align, the better the chances of avoiding scope creep and miscommunication.
And then, of course, comes budget planning and financing. A realistic budget must include not only material and labor costs but also permits, contingencies, and soft costs, such as design fees and administrative approvals. Developers often underestimate this part, leading to funding shortfalls midway.
“The best projects are the ones where the entire team is looped in from Day 1,” says Tim Karev, one of our recent clients at uppteam. “It saved us from reworking designs and making last-minute fixes that would’ve doubled our costs.”
Once the project vision and team are aligned, the creative process begins—and it’s more structured than most realize.
The schematic design (SD) stage kicks things off. Architects sketch conceptual plans, test massing studies, and explore how the building will sit on the site. These early visuals are more about space and flow than technical details, but they help align client expectations.
Design development (DD) dives deeper. Architects begin refining room layouts, selecting materials, integrating HVAC and plumbing systems, and collaborating with consultants to ensure that structural and MEP considerations are addressed early.
Finally, construction documentation (CD) begins. These are the technical drawings and specifications contractors rely on to build the structure. They include everything from structural details and MEP layouts to fire safety diagrams and elevation plans.
Pro Tip: This is where BIM (Building Information Modeling) makes a huge impact. Instead of relying on disconnected 2D drawings, BIM allows everyone—architects, engineers, and contractors—to work on a single, data-rich model. At uppteam, we’ve helped dozens of firms streamline the design process and reduce costly RFIs by implementing BIM during this phase.
No matter how brilliant your design is, it can’t be built without sign-off from the authorities.
The permitting process involves submitting construction documents to local authorities for plan approval, followed by reviews for zoning and code compliance. If the project doesn’t meet local zoning bylaws or fire safety codes, revisions must be made, often delaying the project by weeks.
Depending on the location and type of building, additional environmental clearances might be required. This could include waste management strategies, energy usage plans, and heritage impact assessments for protected sites.
Callout: Teams that incorporate compliance experts during the design stage rarely face major hiccups. It’s far easier (and cheaper) to adjust a drawing than to demolish a built element.
With approvals in place, the physical transformation begins.
The site is cleared of trees, debris, and obstacles, and leveled for construction. Heavy equipment is brought in to excavate the foundation area and create temporary access routes.
Site logistics and utility planning are critical at this point. Contractors set up temporary site offices, storage zones, and arrange for water and power supply. If not carefully managed, poor logistics can delay even the most well-planned projects.
Every building stands—or fails—on its foundation.
Engineers determine whether a shallow foundation (like spread footings) or a deep foundation (like piles) is appropriate based on the soil conditions, structure type, and load distribution.
Once determined, construction crews pour concrete for footings, grade beams, and slabs, incorporating steel reinforcement as needed. Waterproofing membranes and drainage layers are installed to protect the structure from future seepage or ground movement.
This is when you finally see the shape of the building emerge.
The superstructure includes everything above ground—columns, beams, floors, walls, and roof systems. Depending on the material choice, the frame might be made from steel, concrete, or timber.
Each milestone—whether it’s completing a floor or setting up the roof trusses—is typically followed by a structural inspection to ensure load-bearing components meet safety codes.
It’s a dynamic phase, and site coordination is crucial to keep everything on track, especially for large-scale commercial or mixed-use projects.
Though less visible, the MEP systems are the backbone of any modern building.
This stage includes installing ductwork, wiring, and piping within the walls and ceilings. HVAC systems are installed, electrical panels are mounted, and plumbing stacks are set.
In smarter buildings, this is also when sustainable technologies, such as solar panels, smart lighting, rainwater harvesting, and building automation systems, are integrated.
At uppteam, we’ve increasingly worked with MEP consultants to optimize these systems through BIM coordination. This reduces on-site clashes and ensures better energy performance post-occupancy.
As the shell is completed, attention turns to the aesthetic and functional details.
Inside, crews work on flooring, wall treatments, ceiling panels, fixtures, and cabinetry. It’s when the sterile concrete box begins to look like a livable, breathable space.
Outside, facade work begins—whether it’s cladding, stonework, or glazing. Landscaping also takes shape, with walkways, green areas, and external lighting added to elevate the building’s visual appeal and accessibility.
This is also the stage when clients begin to see their vision come to life—and where minor design revisions (and added requests) often emerge.
With construction complete, the building must pass a series of final inspections by local authorities and third-party consultants.
Any issues found during these checks—called the punch list—must be addressed before the building can receive an Occupancy Certificate (OC).
Once everything checks out, the project team walks the client through the completed building, handing over keys, manuals, warranties, and as-built documentation.
Many developers make the mistake of treating handover as the finish line, but what happens after is equally important.
Regular maintenance protocols, digital facility management tools, and proper as-built documentation enable building owners to manage their assets more effectively and prepare for future renovations.
At uppteam, we often support our clients post-handover by providing digital twins and BIM-integrated O&M models, ensuring that the design intelligence continues to serve long after the project is delivered.
From the first sketch to final inspection, the building construction process is a highly coordinated journey of decisions, details, and collaboration. Understanding each stage enables stakeholders to make informed decisions, manage budgets effectively, and mitigate risks.
At uppteam, we don’t just support design—we guide our clients through the whole journey with BIM-driven insights, project documentation support, and a team that understands both the big picture and the fine print.
Whether you’re dreaming up a home or managing a commercial build, clarity is your most excellent tool. Let’s build with confidence—together.
Your One-Stop MEP Design Support Solution is Here
Hire Remote Team at an Affordable Price!